Dialogic® PowerMedia™ Extended Media Server (PowerMedia XMS) - more articles
XMSEchoTest - XMS Java Client Library Sample - for REST Application Development
Introduction:
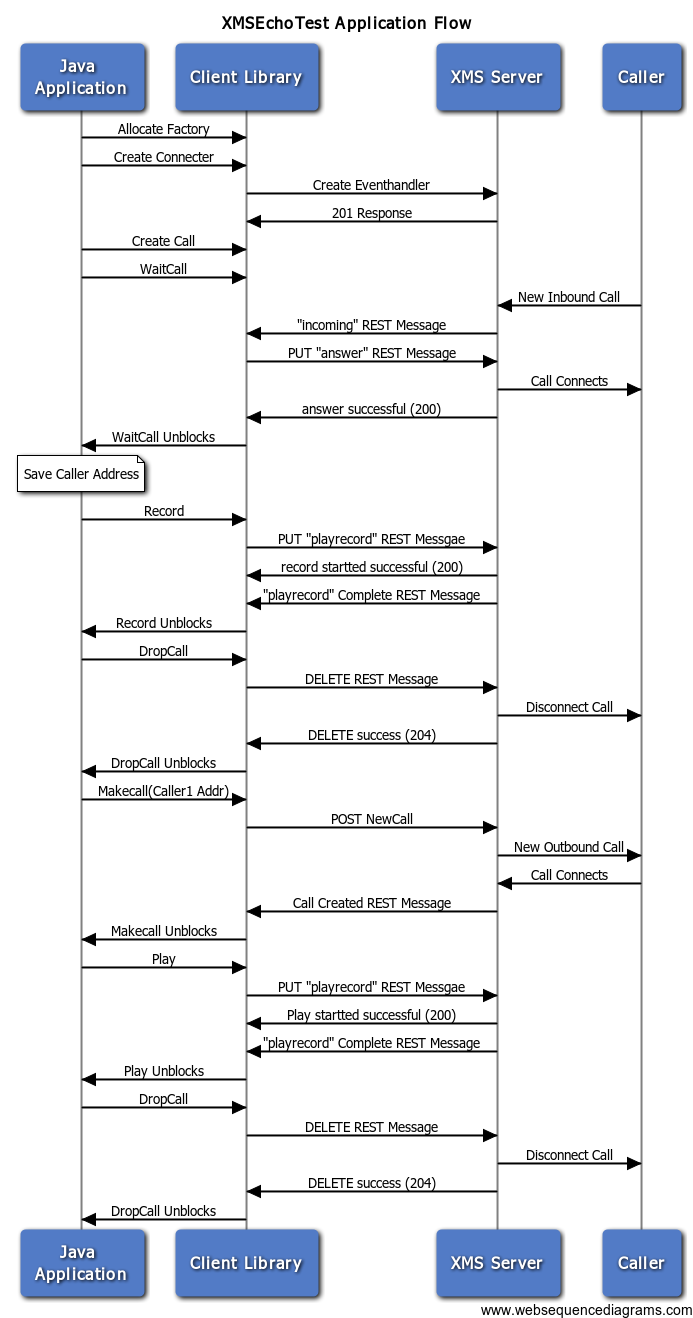
This is an overview of the XMSEchoTest sample application for Dialogic® PowerMedia™ Extended Media Server (PowerMedia XMS). This application was created using the sample XMS Java Client library. This synchronous application will showcase the following tasks:
- Initialize the base objects used by the XMS Java Client Library (XMSFactory, XMSCall,XMSConnector)
- Wait for an incoming call
- Save the Callers address
- Record a file for 10 seconds
- Disconnect the call
- Make an outbound call back to the caller
- Playback the recorded file
- Disconnect
Application Ladder Diagram:
Click on the image to view it full size
Obtaining the Project:
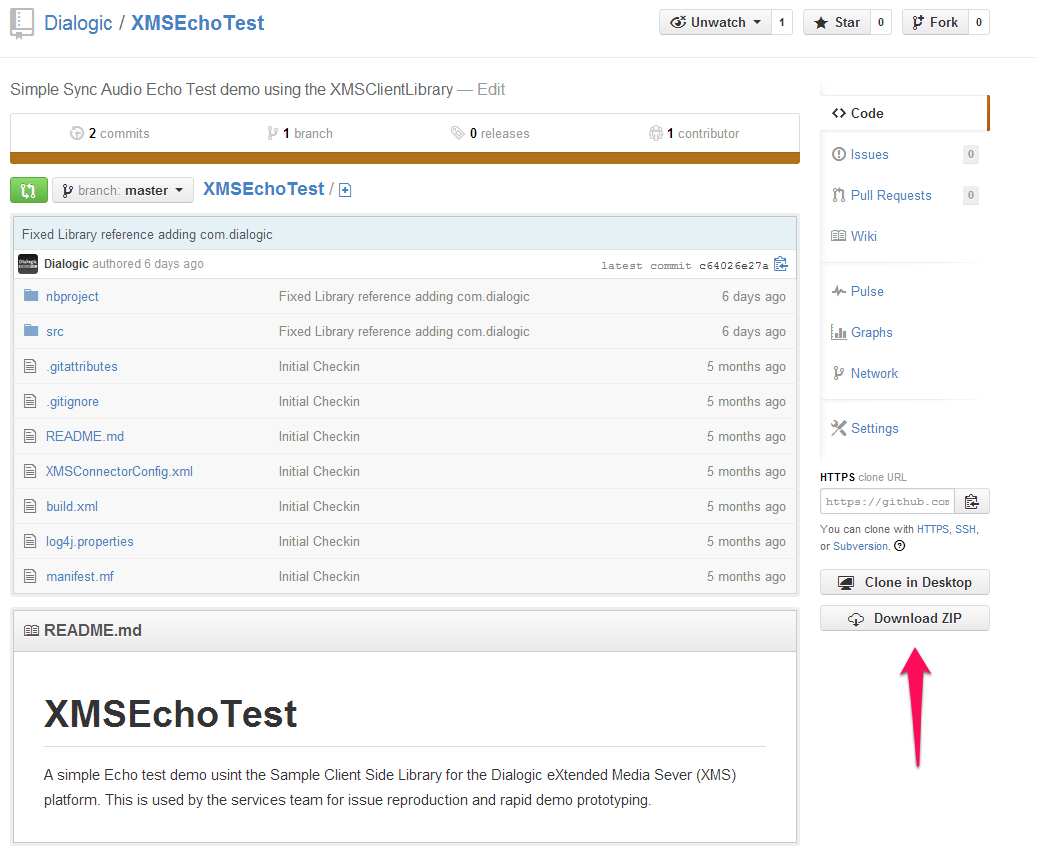
The source code for this sample application can be found at GitHub at this link. The link also contains the NetBeans IDE project as well as the source code
This application is built using the XMS Java Client library. Instructions on how to obtain and build the XMS Java Client library can be found here.
Once at GitHub, select the "Download Zip"
Click on the image to view it full size
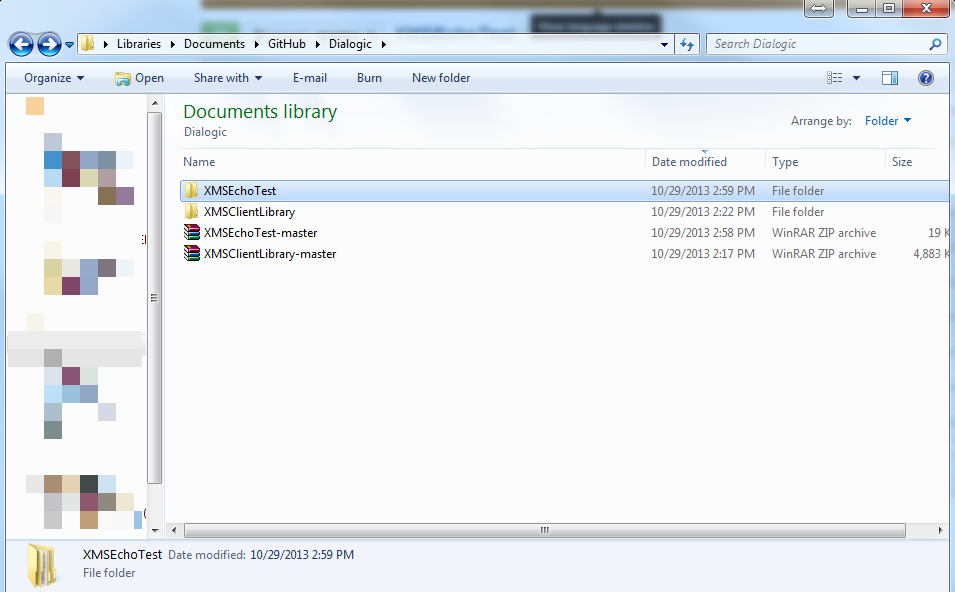
Once downloaded, extract it to the Documents\GitHub\Dialogic\XMSEchoTest directory.
Click on the image to view it full size
Configuring NetBeans and Building the Demo
Open NetBeans and open the XMSEchoTest and the XMSClientLibrary.
At this point, you should see both projects in your listings.
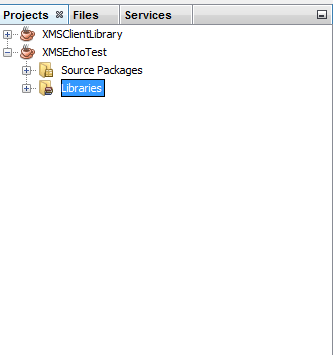
Next, confirm that all the libraries are present by expanding the libraries list
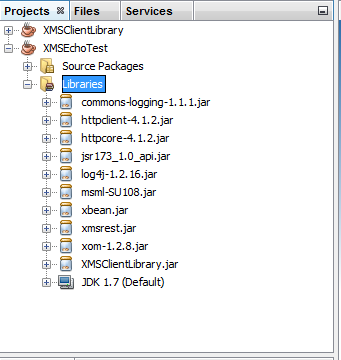
If your list is empty, you will need to add the libraries.
Note: you will need to obtain the libraries from the successfully built XMSClientLibrary Project.
You will need to add
1. The XMSClientLibrary.jar that is located in the dist directory above
Click on the image to view it full size
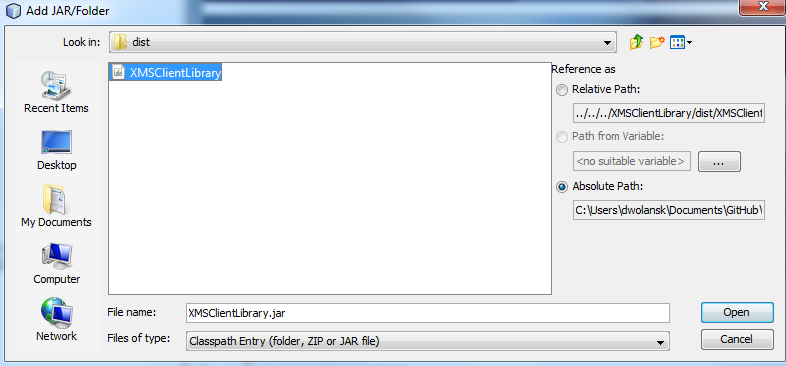
2.All the jar files located in the XMSClientLibrary\jars directory
Click on the image to view it full size
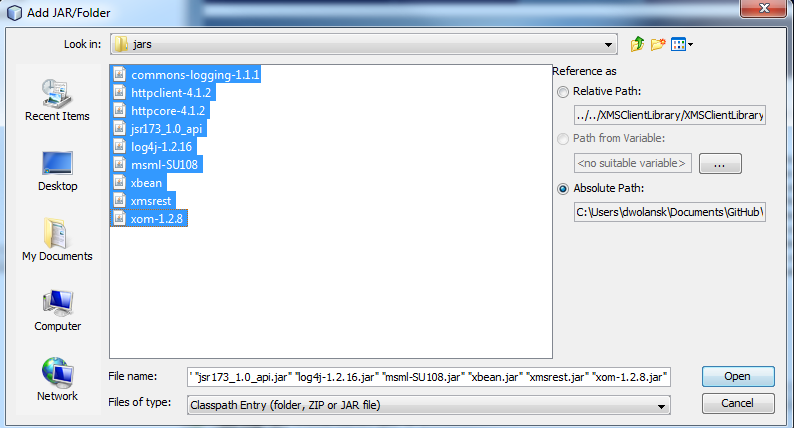
Once the libraries are added, you can then select the "Clean and Build" from the run menu after selecting the demo's project.
Click on the image to view it full size
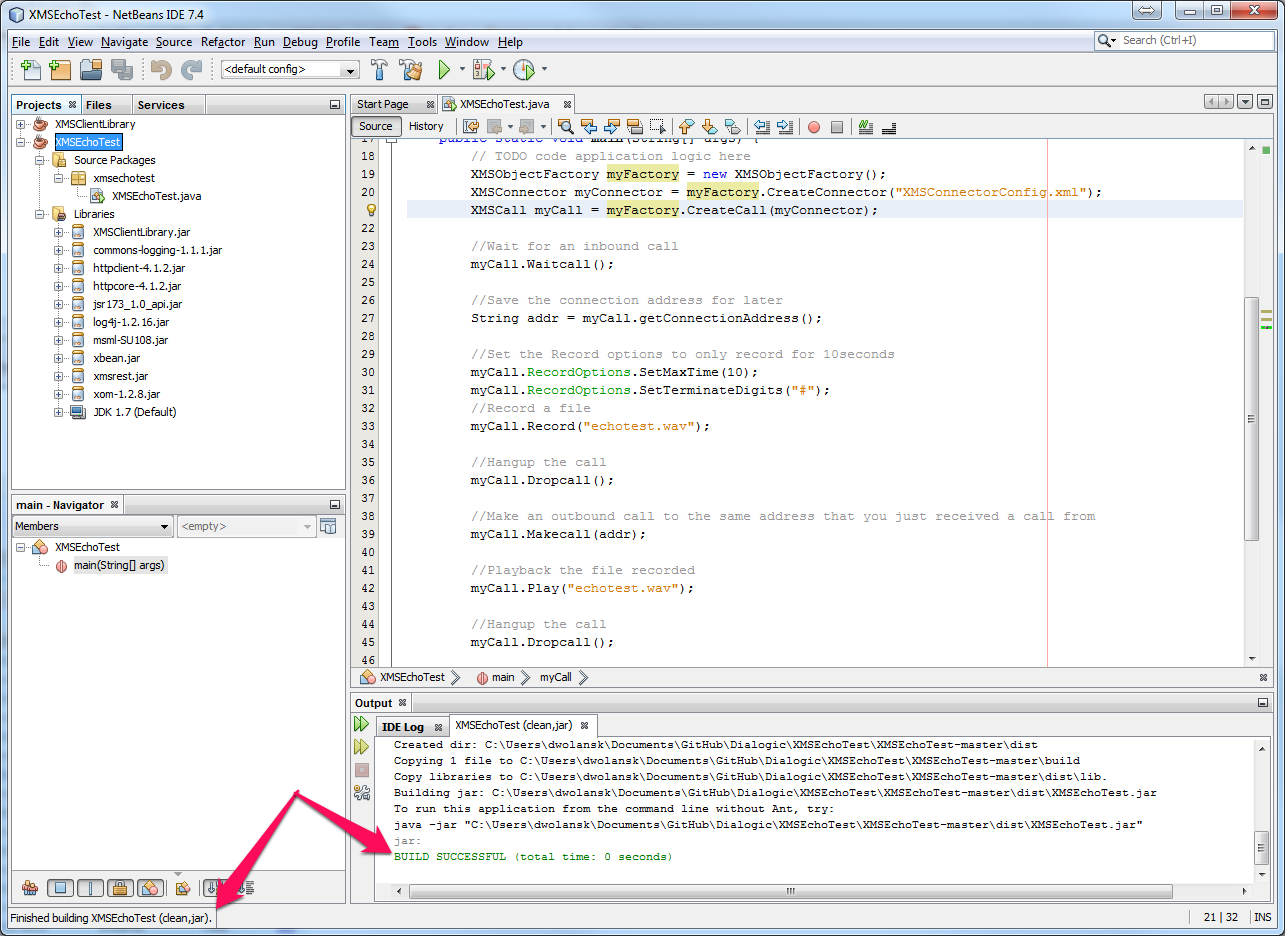
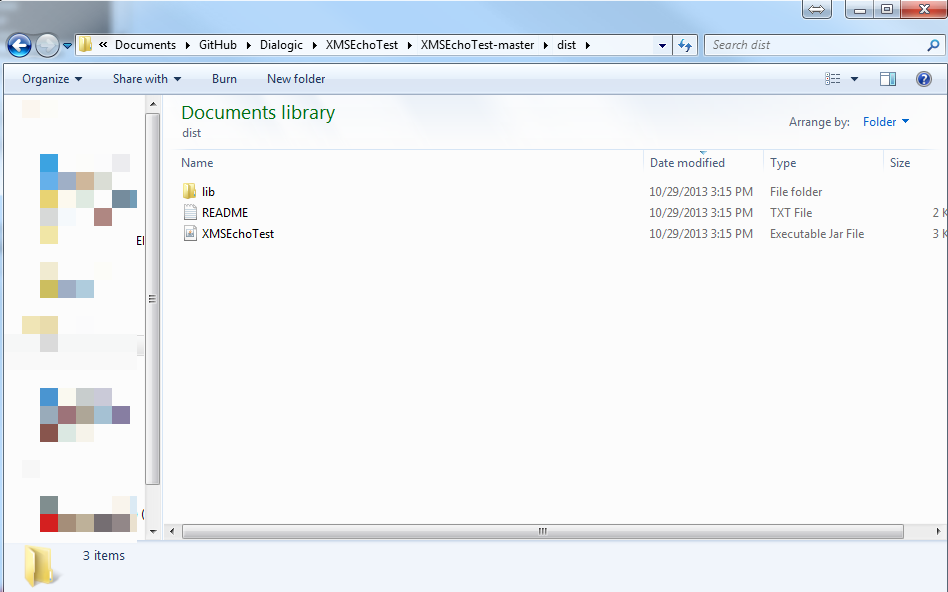
At this point, the demo should be built and inside the dist directory.
Click on the image to view it full size
Running the Demo
There are two ways to run the demo: via the Jar File or via the NetBeans IDE.
Setting the Configuration file.
The XMS Java Client library uses a configuration file to tell the Demo/Library the address for the PowerMedia XMS server. This configuration file must be updated with the IP address of the PowerMedia XMS server.
For this demo, the file is called XMSConnectorConfig.xml file and is located in the root directory for the project.
Click on the image to view it full size
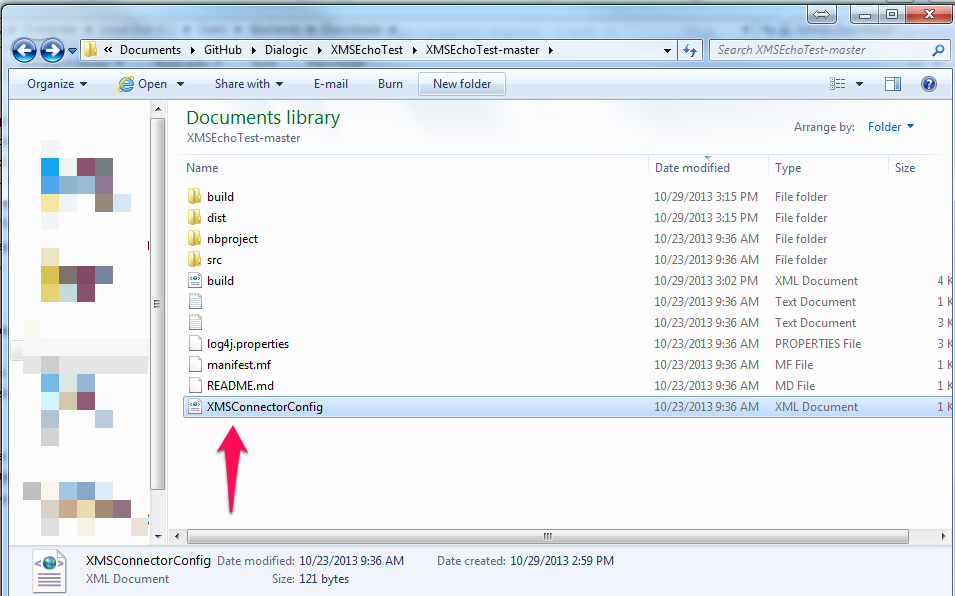
To open this file, it is recommended that you right-click the file and select 'edit' otherwise it will likely open in read only mode inside the default web browser. Any text editor can be used to edit this file.
The setting you will need to change is the IP address located inside the base_url
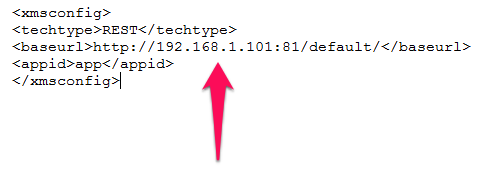
Once done, save the file.
If you are running from inside the IDE, the files can stay in this location as this is the working directory for the project.
However, if you are going to run directly from the jar file, you will need to copy the XMSConnectorConfig.xml and the log4j.properties into the same file location as the jar executable.
Click on the image to view it full size
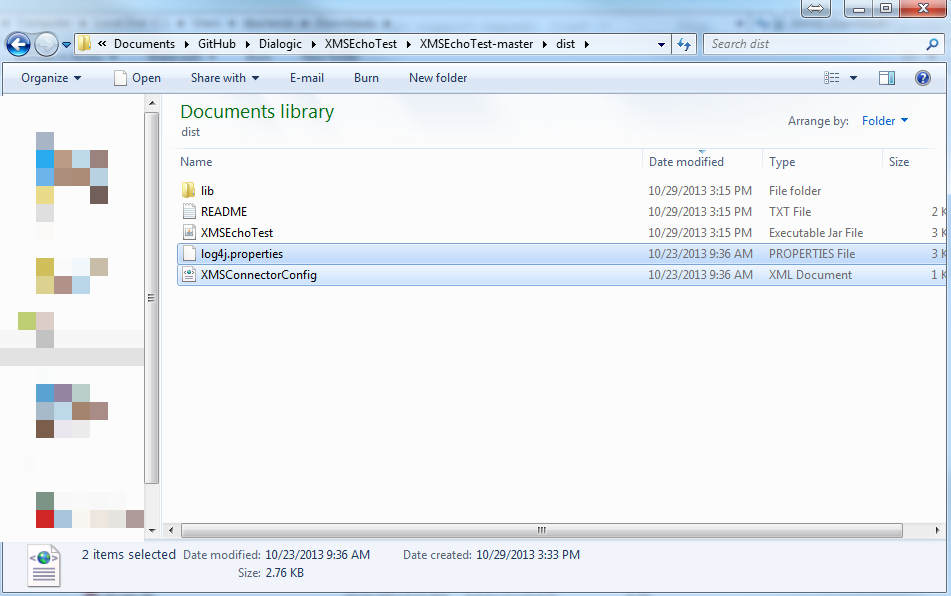
At this point, you are ready to run the demo. You can run it from inside NetBeans by right-clicking on the project and then selecting run.
Click on the image to view it full size
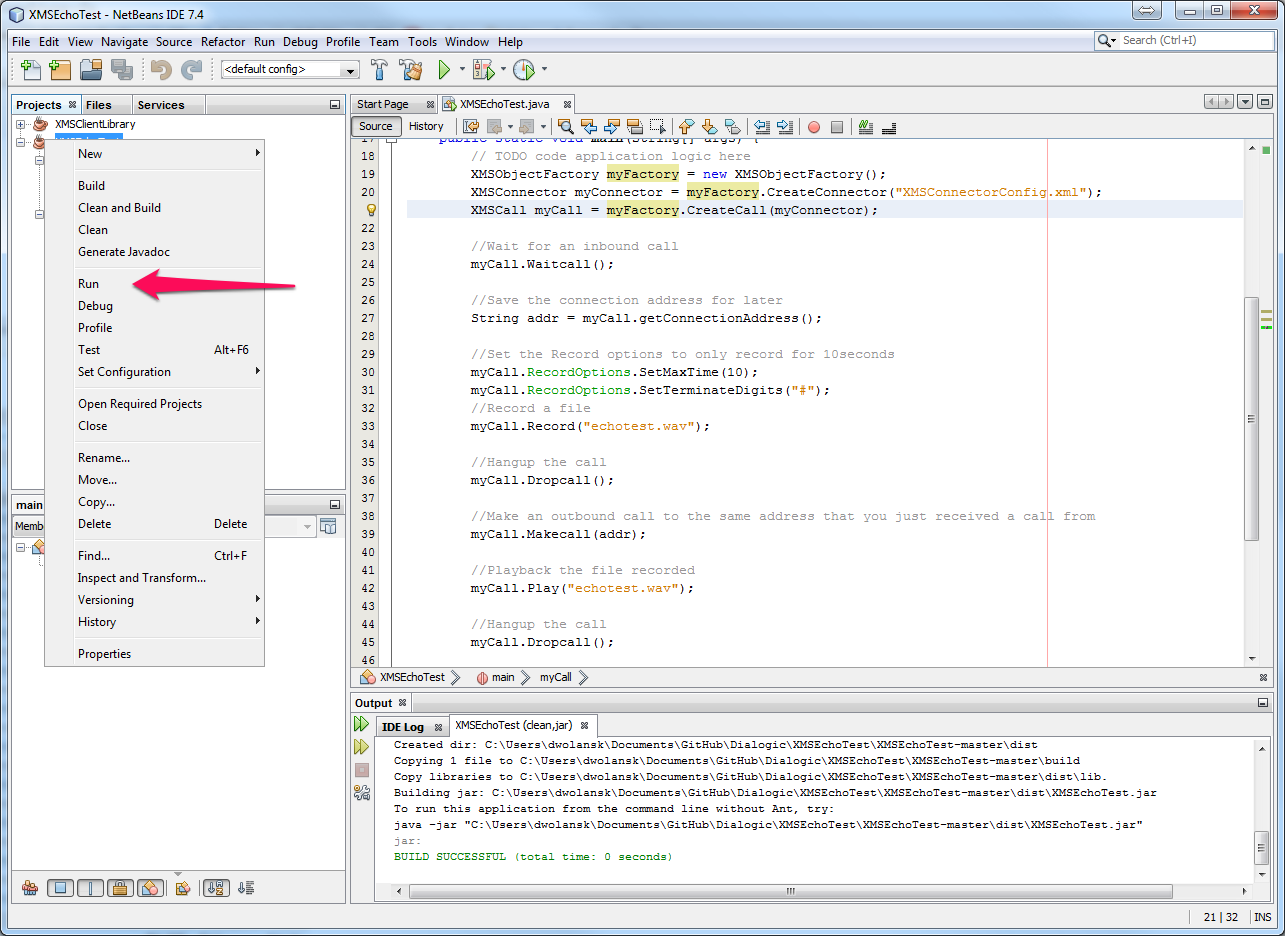
At this point, you can dial into the demo; but remember that the demo will exit after a single call.
For SIP, you can use a softphone like LinPhone or Bria to dial into sip:app@<XMS IP Address>
For WebRTC, you can use the sample demo at <PowerMedia XMS IP Address>:1080/webrtc.html
Product List
Dialogic® PowerMedia™ Extended Media Server 2.1
Legal Note
This document discusses one or more open source products, systems and/or releases. Dialogic is not responsible for your decision to use open source in connection with Dialogic products (including without limitation those referred to herein), nor is Dialogic responsible for any present or future effects such usage might have, including without limitation effects on your products, your business, or your intellectual property rights.
See also:Getting Started with XMS REST Application Development using Sample XMS Java Client Library
How to create JAXB classes in Client Library using msml xsd file
How to Run the Sample XMS Java Client Library in Eclipse
First published: 12-Nov-2013
Open access: Product rule: open; Page rule: Auto